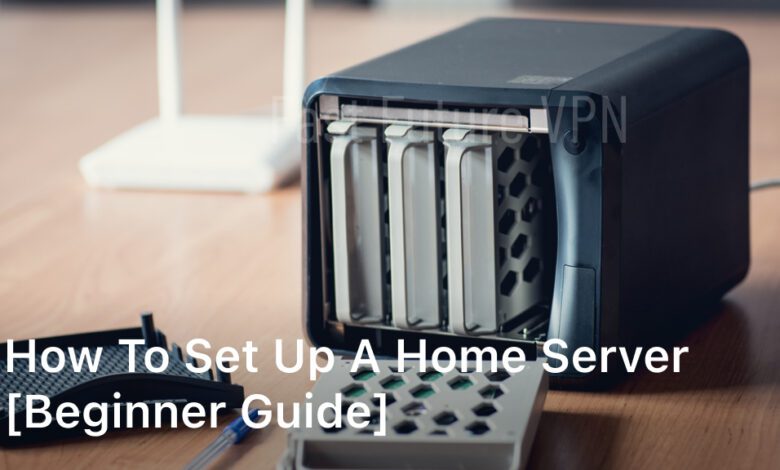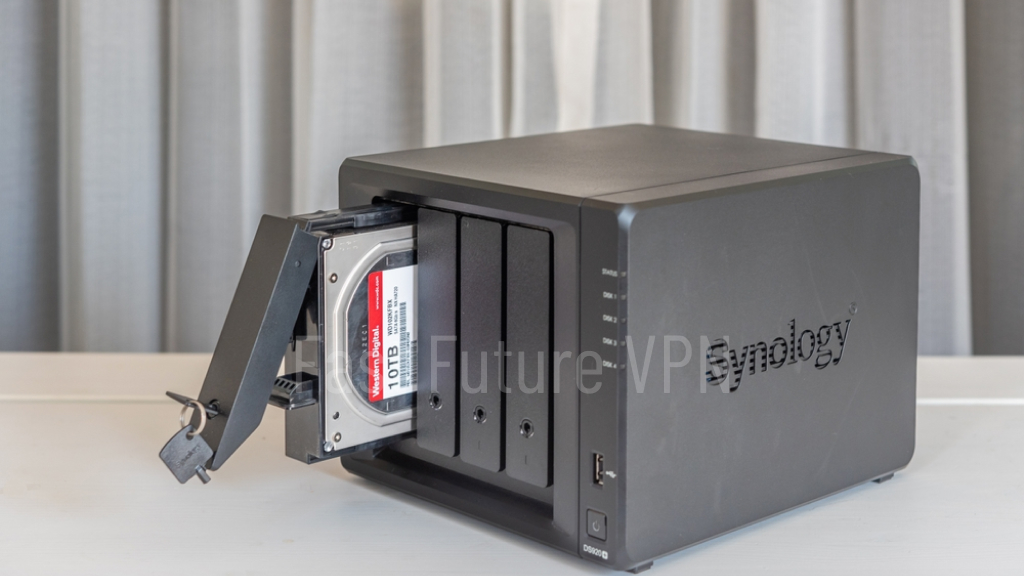
Welcome to our beginner-friendly guide on how to set up a home server. If you’ve ever wanted to create your own personal server for file storage or media streaming, this step-by-step guide is for you. By following our DIY installation and configuration process, you’ll be able to set up your very own home server tailored to your specific needs.
Setting up a home server may sound intimidating, but with the right guidance and approach, it can be a rewarding project. Whether you’re tech-savvy or a complete beginner, we’ve got you covered. Let’s dive in and explore the world of home server setup together!
Throughout this guide, we’ll cover everything you need to know, from planning your home server setup to building the hardware, installing the operating system, and configuring your server. We’ll provide you with the necessary knowledge and tools to make the process as smooth as possible.
So, if you’re ready to embark on this DIY adventure and unleash the potential of having your personal server at home, let’s get started. Follow along, and soon you’ll be enjoying the convenience and flexibility of your very own home server setup.

Planning Your Home Server Setup
Before diving into the setup process, it’s important to plan your home server installation effectively. This will ensure a smooth and successful configuration process. In this section, we will discuss key considerations and provide a home server tutorial to help you plan:
- Hardware Requirements: Assess your needs and determine the hardware specifications required for your home server. Consider factors like storage capacity, processing power, and network connectivity.
- Operating System Selection: Choose the operating system that best suits your needs and technical proficiency. Options include Windows Server, Linux distributions like Ubuntu or CentOS, and specialized server operating systems.
- Purpose of Your Home Server: Define the primary purpose of your home server. Are you planning to use it for file sharing, media streaming, or running specific applications? Understanding your goals will help determine the necessary components and configuration options.
- Networking and Security Considerations: Evaluate your network infrastructure and consider any additional security measures you may need, such as firewalls or VPN connections, to protect your home server and data.
By carefully planning your home server configuration, you can ensure that your installation aligns with your requirements and functions optimally. With these considerations in mind, you’ll be one step closer to setting up your own personalized home server.
Building Your Home Server
Now that you have a clear plan, it’s time to start building your DIY home server. Follow these step-by-step instructions to assemble your personal server:
- Select the Right Components: Begin by choosing the hardware components that suit your needs, such as a motherboard, CPU, RAM, storage drives, and a power supply. Consider factors like processing power, storage capacity, and expandability.
- Connect Cables: Carefully connect the necessary cables, such as power cables, SATA cables for drives, and data cables for peripheral devices. Ensure proper cable management to avoid clutter and optimize airflow.
- Ensure Proper Cooling: Cooling is crucial to prevent overheating and ensure optimal performance. Install fans or a CPU cooler to keep the components cool. Consider the placement of fans for efficient airflow.
By following these steps, you’ll be well on your way to creating your own DIY home server. Once assembled, you can move on to installing the operating system and configuring your server to meet your specific requirements.
Installing the Operating System
Once your home server is built, it’s time to install the operating system. Follow this step-by-step guide to complete the installation process:
- Partitioning drives: Before installing the operating system, you’ll need to partition your drives for optimal usage. Determine the allocation of space for your operating system, applications, and data storage. Use disk management tools to create and format the necessary partitions.
- Choosing the operating system: Select the operating system that best fits your needs. Whether you opt for Windows Server, Linux, or another option, make sure it aligns with your server requirements and personal preferences.
- Installing the operating system: Insert the installation media (DVD or USB) and boot your server from it. Follow the on-screen instructions to initiate the installation process. Specify the installation location and provide the necessary information and settings when prompted.
- Setting up users: Once the operating system is installed, create user accounts with the appropriate privileges. Consider creating separate accounts for different users or roles to ensure better security.
- Configuring network settings: Connect your home server to your local network or the internet. Configure network settings such as IP address, subnet mask, gateway, and DNS to establish proper connectivity.
By following these steps, you can successfully install and set up your chosen operating system on your home server. This will lay the foundation for further configuration and customization.
Configuring Your Home Server
Now that you have installed the operating system, it’s time to configure your home server according to your specific needs. Follow these step-by-step instructions to ensure your home server functions optimally:
- Setting up shared folders: Create shared folders on your home server to easily access and share files with other devices on your network. This will allow seamless file transfer and collaboration.
- Configuring remote access: Enable remote access to your home server, so you can securely access your files and services from anywhere. Set up a VPN or port forwarding for remote connections.
- Securing your server with firewall settings: Implement robust firewall settings to protect your home server from unwanted access and potential security threats. Configure firewall rules to allow necessary network traffic and block any unauthorized attempts.
By following these steps, you can configure your home server efficiently, making it an integral part of your home network infrastructure. Enjoy the convenience and customization options that come with your very own home server!
Conclusion
Setting up a home server may initially seem intimidating, but with the right guidance and approach, it can turn into a rewarding DIY project. This beginner-friendly guide has provided step-by-step instructions to help you successfully set up and configure your own home server, tailored to your specific requirements.
By planning your home server setup effectively, selecting the right hardware components, installing the operating system of your choice, and configuring your server to suit your needs, you’ll be able to enjoy the benefits of having a personal server at home.
With a home server, you can conveniently store and access files, stream media, and even host your own websites or applications. Say goodbye to relying on third-party cloud services and enjoy the control, privacy, and flexibility that comes with having your server right at your fingertips.
FAQ
How difficult is it to set up a home server?
Setting up a home server can be a complex process, especially if you are new to server configuration. However, with the right instructions and attention to detail, even beginners can successfully set up their own home server.
What are the hardware requirements for a home server?
The hardware requirements for a home server depend on your specific needs. Generally, you will need a computer with a capable processor, sufficient RAM, ample storage space, and reliable network connectivity.
Can I use an old computer as a home server?
Yes, you can repurpose an old computer as a home server as long as it meets the necessary hardware requirements. Keep in mind that older computers may be less powerful and energy-efficient than newer models.
What operating system should I choose for my home server?
The choice of operating system depends on your preferences and requirements. Popular options for home servers include Windows Server, Linux distributions like Ubuntu Server or CentOS, and NAS-specific systems like FreeNAS or OpenMediaVault.
Can I use a home server for media streaming and file sharing?
Absolutely! A home server is a great solution for streaming media to multiple devices and sharing files within your local network. You can set up media server software like Plex or Emby, and configure shared folders for easy file access.
How can I access my home server remotely?
To access your home server remotely, you can set up port forwarding on your router and configure a dynamic DNS service. This will allow you to securely connect to your server from anywhere outside your home network using a domain name or IP address.
How can I secure my home server?
There are several measures you can take to secure your home server. These include regularly updating your operating system and software, using strong passwords, enabling a firewall, and restricting access to only trusted devices or users.
Can I run virtual machines on my home server?
Yes, if your hardware is capable, you can run virtual machines on your home server. Virtualization software like VMware or VirtualBox allows you to create and manage multiple virtual machines, each with its own operating system and applications.
What are the benefits of having a home server?
Having a home server offers various benefits, such as centralized storage, media streaming capabilities, remote access to files and applications, increased privacy and security, and the ability to run self-hosted services like email servers or personal websites.
Is it worth investing my time and money in setting up a home server?
Whether it’s worth investing your time and money in setting up a home server depends on your needs and interests. If you value privacy, customization, and having control over your data, a home server can be a valuable addition to your home network.


