How to Update BIOS on Gigabyte Motherboard? We will guide you through updating your Gigabyte motherboard’s BIOS step by step.
BIOS updates bring security patches, better performance, and new hardware support. If you want to fix issues or keep up to date, this guide will make updating your system easy.
What is BIOS and Why Update It?
The BIOS (Basic Input/Output System) is a key part of your computer. It starts and runs your hardware. This includes things like loading the operating system and connecting other hardware.
Understanding the Importance of BIOS Updates
Keeping your Gigabyte motherboard’s BIOS up to date is important. It can make your computer work better and stay secure. Updates usually fix bugs, add new hardware support, and improve security.
- Improved system stability and reliability
- Support for new hardware and technologies
- Enhanced security features to protect your system
- Bug fixes and performance optimizations
Common Reasons for Updating Gigabyte BIOS
You might need to update your Gigabyte BIOS for many reasons. Some common ones include needing new hardware support. If you’re upgrading parts like your CPU or RAM, you might need an update.
BIOS updates can also fix issues. They might solve problems like crashes or compatibility with your current hardware. Additionally, updates can boost your system’s performance or add security features.
Keeping your BIOS current is vital for optimal computer performance. This ensures it has the latest features and protects against threats. We’ll show you how to update your Gigabyte BIOS in the next sections.
Preparing to Update Your Gigabyte BIOS
Before updating your Gigabyte BIOS, make sure your system is ready. To update safely, your computer needs some prep work. We’ll look at the steps to ready your Gigabyte computer for the update.
Ensure Stable Power Supply
Having a stable power source is crucial for a safe BIOS update. A sudden power cut could ruin the update, making your computer unworkable. Ensure your computer is well-connected to power or has a fully charged battery.
Create a BIOS Backup
It’s smart to back up your BIOS settings before updating. This backup is a safety measure. It lets you go back if anything goes wrong during the update. Check your Gigabyte motherboard’s manual for how to do a BIOS backup.
Disable Antivirus and Firewall Temporarily
Your security software might cause problems during the update. It’s best to turn off your antivirus and firewall for a short time. Just remember to turn them back on once you finish to keep your system secure.
Gather Necessary Resources
- Get the latest BIOS version that works with your Gigabyte motherboard from the maker’s website.
- Get a USB or other storage to save the BIOS update file.
- Look at your Gigabyte motherboard’s guide for any needed steps or requirements for the update.
Following these steps will make sure your Gigabyte BIOS update goes smoothly. It’ll help you avoid problems and keep your computer stable during the update.
Downloading the Latest BIOS Version
First, go to the Gigabyte website to download the latest BIOS for your motherboard. This step is vital to keep your system running smoothly. By updating, you get better performance and fewer bugs. You also make sure your system is up to date with the newest features.
Locating the Correct BIOS File for Your Gigabyte Motherboard
Head to the Gigabyte website’s “Support” section to find your motherboard’s newest BIOS. Look for a “BIOS” or “Download” page where you can enter your motherboard’s model name or number. The site will then show you the latest BIOS updates available for your motherboard.
Check the details of the BIOS update. Ensure the version number, release date, and file name all match your motherboard. This guarantees the update will work correctly.
Verifying the BIOS File Integrity
After downloading the BIOS file, confirm it’s not corrupted. Gigabyte usually offers a checksum or MD5 hash for this check. This ensures your download is complete and safe to use.
- Use online tools or software to check the checksum against the BIOS file you downloaded.
- When the values match, your BIOS file is safe to use. This means your update should go smoothly.
Following these steps helps make sure you’re using the right BIOS file. Doing this work beforehand will set you up for a successful update. Always pay attention to detail as you download and check the BIOS file. This care will save you any trouble later on.
How to Update BIOS on Gigabyte Motherboard
Updating your Gigabyte motherboard’s BIOS is key to unlocking new features and improving performance. We will show you how to do it step by step.
Preparing for the BIOS Update
Before updating, make sure your computer is stable. Plug into a reliable power source and check your internet. Back up important data to be safe if issues happen.
Downloading the BIOS Update File
First, find the right BIOS file for your motherboard on Gigabyte’s website. Download the newest file and save it somewhere easy to find.
Updating the BIOS Using Q-Flash
Q-Flash lets you update the BIOS from within the setup menu. Here’s how:
- Restart your computer and get into the BIOS menu with Delete or F2.
- Find the Q-Flash section in the menu.
- Select the update file you downloaded. Follow the instructions that appear.
- Let the update process finish without turning off your computer.
- After the update, your PC will restart. Check the BIOS menu to see the new version.
Updating the BIOS from a USB Drive
You can also use a USB drive to update the BIOS. Here are the steps:
- Format a USB drive to FAT32.
- Put the BIOS update file directly on the USB.
- Restart and enter the BIOS menu.
- Choose to update from your USB drive when prompted.
- Just follow the on-screen steps to complete the update.
By following these guides, you can keep your Gigabyte motherboard’s BIOS up to date. Remember to be careful and avoid turning off your computer while updating.
Entering the BIOS Setup Utility
First, accessing the BIOS setup utility is needed to update the BIOS on your Gigabyte motherboard. This setup is vital for controlling your computer’s basic functions, including BIOS firmware updates. You need to know how to find and use the BIOS setup menu on your Gigabyte motherboard.
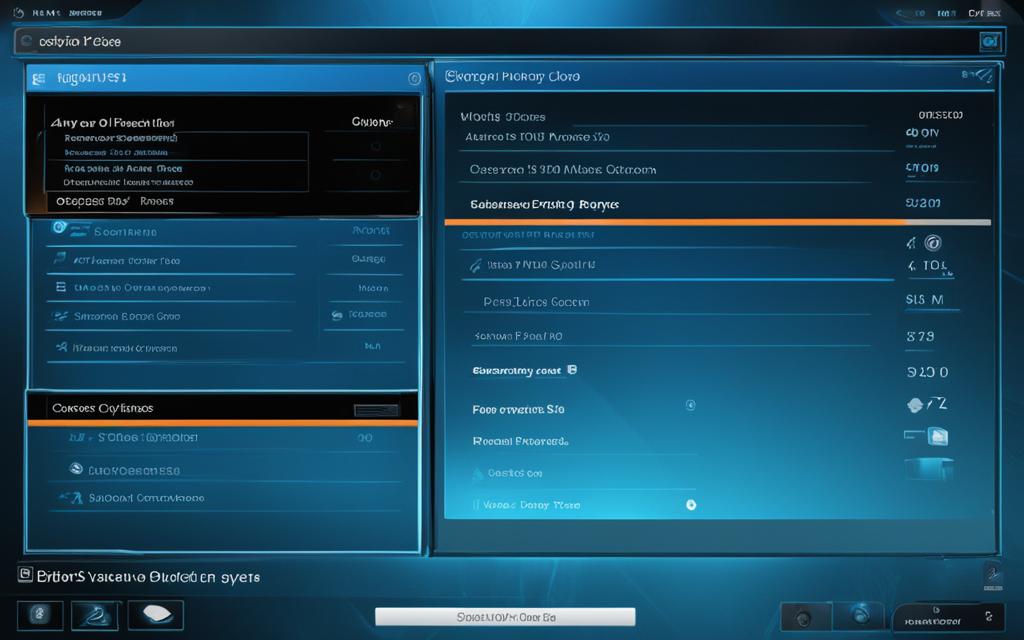
Accessing the BIOS Setup Menu
Interrupting the normal boot is how you get to the BIOS setup menu. This is done by pressing a specific key or key combo when you start your system. The exact key to press depends on your Gigabyte motherboard model. Common options include:
- Delete (Del) key
- F2 key
- F12 key
- Ctrl + Alt + Delete
Watch for the on-screen prompt while your computer is booting. This brief message shows you the key(s) to press to enter the BIOS setup utility. Be ready to press it immediately when you see the message.
Navigating the BIOS Setup Utility
Once you’re in the BIOS setup, you’ll see many options to set up your Gigabyte motherboard and your system. Getting around in the BIOS might seem hard at first. But, with a little getting used to, you’ll know your way around.
The BIOS setup has a menu-driven interface. It’s often set up with different categories or submenus. Use your keyboard’s arrow keys to move around and the Enter key to choose options.
F1, F2, F3, etc., are function keys that can help you do various things in the BIOS. Like, they can help you get to the help menu or save changes. Learning about these keys can make using your gigabyte bios simpler and easier.

Keep in mind, the BIOS setup might look different and offer different options based on your Gigabyte motherboard model. So, always check your motherboard’s user manual or the manufacturer’s website for the best way to get into and use the BIOS.
Updating the BIOS Using Q-Flash
Gigabyte’s Q-Flash tool makes updating the BIOS on your motherboard super easy. You don’t need a bootable USB or other media. This guide will show you how to use Q-Flash for a BIOS update on your Gigabyte system.
Q-Flash is easy to use. You don’t need to boot from a USB or CD. This saves time and avoids issues that might come with using external media.
- To start, open the BIOS setup on your Gigabyte motherboard. Hit a key like Delete or F2 when your computer starts.
- Find the “Q-Flash” or “BIOS Update Utility” option in the BIOS. It might be under “Tools” or “M.I.T.”
- Choose the BIOS file you downloaded for your motherboard in the Q-Flash menu.
- Q-Flash will check the file and ask if you want to update. Follow the steps on the screen to update.
- Your computer will restart a few times during the update. Don’t turn your computer off, or you might damage your motherboard.
- After the update is done, your computer will start with the new BIOS.
Q-Flash by Gigabyte lets you easily update the BIOS without external media. This method is straightforward and safe, making sure your BIOS stays current.
Updating the BIOS from a USB Drive
Updating your Gigabyte motherboard’s BIOS with a USB drive is easy. We’ll show you all steps involved. First, we need to get the USB drive ready and put the BIOS update file on it.
Preparing the USB Drive
You must prepare your USB drive for BIOS updates. This means making sure it’s formatted correctly and has the right BIOS file. Here’s what to do:
- Use a USB drive with at least 8GB of space. Bigger drives can also work, but 8GB is the minimum.
- Format the USB drive to FAT32. It’s the best format for BIOS updates.
- Download the newest BIOS update for your Gigabyte motherboard. Put the file directly on the USB drive’s main folder, not in any subfolders.
- Make sure the BIOS update file is the only thing on the USB drive. Extra files could cause updating problems.
After following these steps, your USB drive is set for the updating gigabyte bios from usb process. It guarantees a smooth preparing usb drive for gigabyte bios update.
| Task | Recommendation |
|---|---|
| USB Drive Capacity | Minimum 8GB |
| File System | FAT32 |
| BIOS Update File | Copy directly to root directory |
| Additional Files | Only the BIOS update file should be present |
Troubleshooting Common BIOS Update Issues
Updating your Gigabyte motherboard’s BIOS is usually simple. But sometimes things don’t go right. We’re going to look at common problems with BIOS updates. And we’ll show you how to fix them, so your update can run smoothly.
Resolving Failed BIOS Updates
Facing a failed update is a common issue when updating the BIOS on Gigabyte motherboards. This could happen for various reasons like power loss or a wrong BIOS file. If your update fails, stay calm. Let’s explore how you can fix this:
- Check the Power Supply: Ensure your computer has steady power. A sudden power loss during the update process can cause this problem.
- Verify the BIOS File: Be certain that you picked the right BIOS file for your motherboard. Using the wrong one will likely cause a failure.
- Use the Q-Flash Utility: Gigabyte provides a tool, Q-Flash, which might help you recover from a failed update. It’s explained in the “Updating the BIOS Using Q-Flash” section.
- Visit the Gigabyte Support Site: If the issue remains, head to Gigabyte’s support site. They offer more tips. Or, you can contact their support team for help.
Following these steps can often fix your Gigabyte motherboard after a failed BIOS update. This way, you can get your system working again.
Best Practices for Maintaining Your Gigabyte BIOS
Keeping your Gigabyte motherboard’s BIOS healthy and up-to-date is very important. It helps your system work better and stay stable for a long time. We’ll share some top tips for managing your Gigabyte BIOS well. These include checking for updates often, making backup BIOS profiles, and being careful when handling BIOS tasks.
Regularly Check for BIOS Updates
Check for updates from Gigabyte regularly to maintain your BIOS. Gigabyte sends out updates to fix problems, boost performance, or add new features. Updating your BIOS helps keep your system in top condition and lets you enjoy the newest enhancements.
Create BIOS Backup Profiles
Creating backup profiles for your BIOS settings is a smart move. It makes it easy to go back to an earlier configuration or fix a problem. You won’t have to redo all the settings if you have backups. This can save you a lot of time and stress.
Handle BIOS-Related Tasks Carefully
Be very careful when you do anything related to the BIOS, like update it. Following the right steps and making sure to protect your system is crucial. Doing things wrong can make your computer unstable or your motherboard not work. Always look at Gigabyte’s guides to make sure you’re doing things the right way.
| Best Practices for Maintaining Gigabyte BIOS | Tips for Keeping Gigabyte BIOS Up-to-Date |
|---|---|
|
|
By using these best practices and tips, you can keep your Gigabyte BIOS working well. It’s important to update and maintain your BIOS regularly. This is key to keeping your PC in good shape and performing at its top.
Conclusion
This guide showed you how to update your Gigabyte motherboard’s BIOS step by step. Just follow our detailed advice and you’ll safely update your BIOS. This can make your PC work better and be more secure.
Always be careful and get ready before updating your BIOS. Make sure you have the right BIOS file and check it’s good. This way, you can prevent any problems. With our help, your Gigabyte motherboard will run smoothly.
Are you installing a new BIOS or fixing a compatibility issue? Our steps will help you make the process easy. Keeping your Gigabyte BIOS updated means your PC will run better and stay safe. It’s all about enjoying your computer more!


